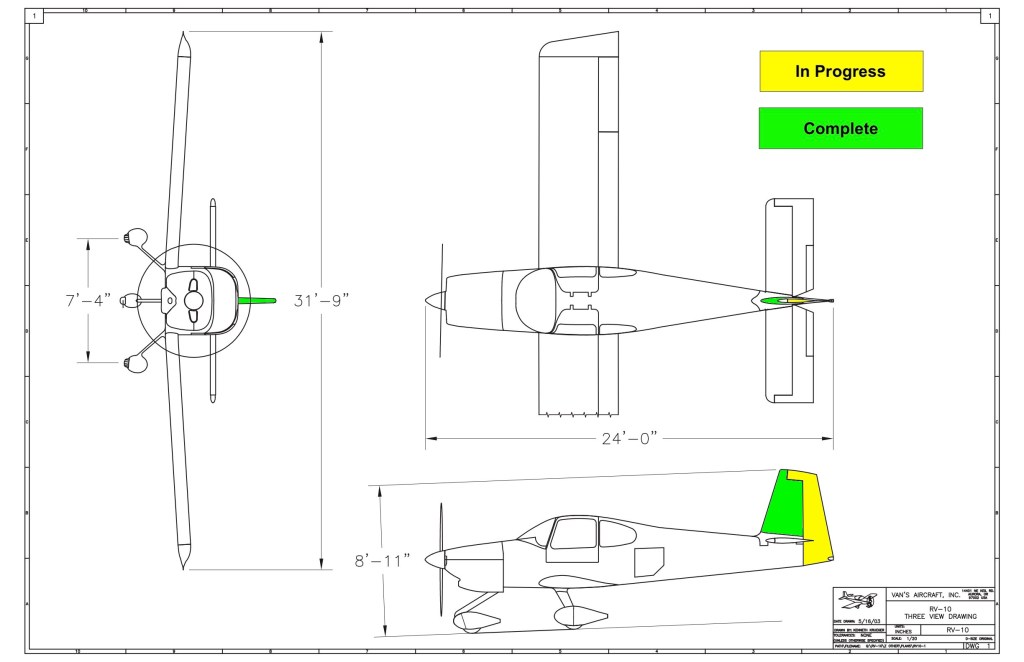
With the Vertical Stabilizer behind us we’ve moved on to the rudder. Everything about the rudder seems tricky. We have to learn some new skills here also. We’ll be ‘back riveting’, working with Proseal, and trying to make the trailing edge perfectly straight.

Sub structure complete!

Taking a working lunch

Adding the top skin

Yah! Looks like a rudder. Except now we need to take the entire thing apart and prime it before riveting.
Once all the pieces are primed we take on the task of assembly. Squeezing rivets is preferred but I think I’ve found something I like even better!
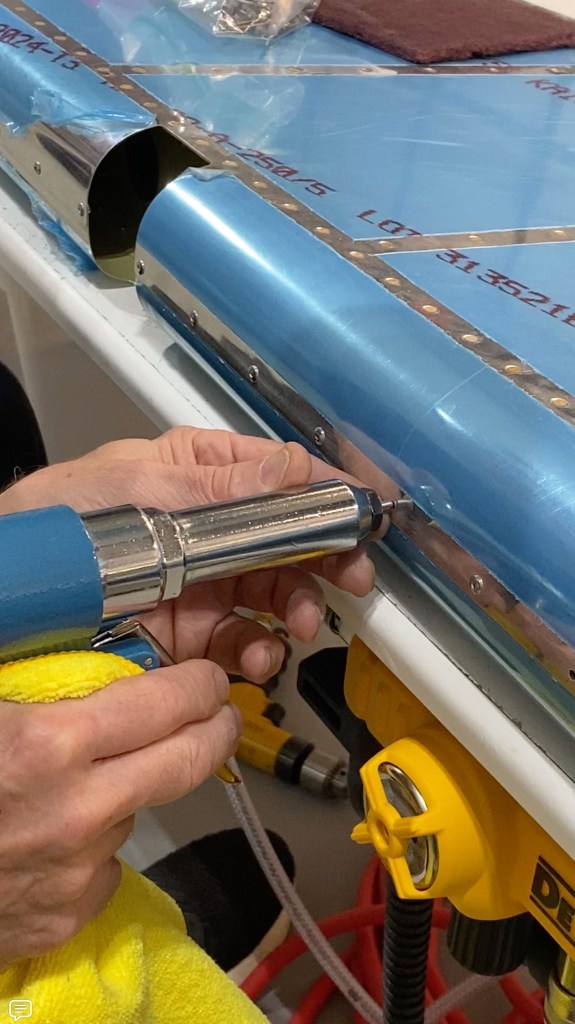
Enter ‘back riveting’! Basically you strike the rivet from the shop end vs. the manufactured end with a huge metal bucking plate beneath. Once you get the air pressure set and the timing down, you can do a bunch of these in short order.
Basically all the stiffeners on both skins are done this way and the process is FAST and perhaps even FUN!

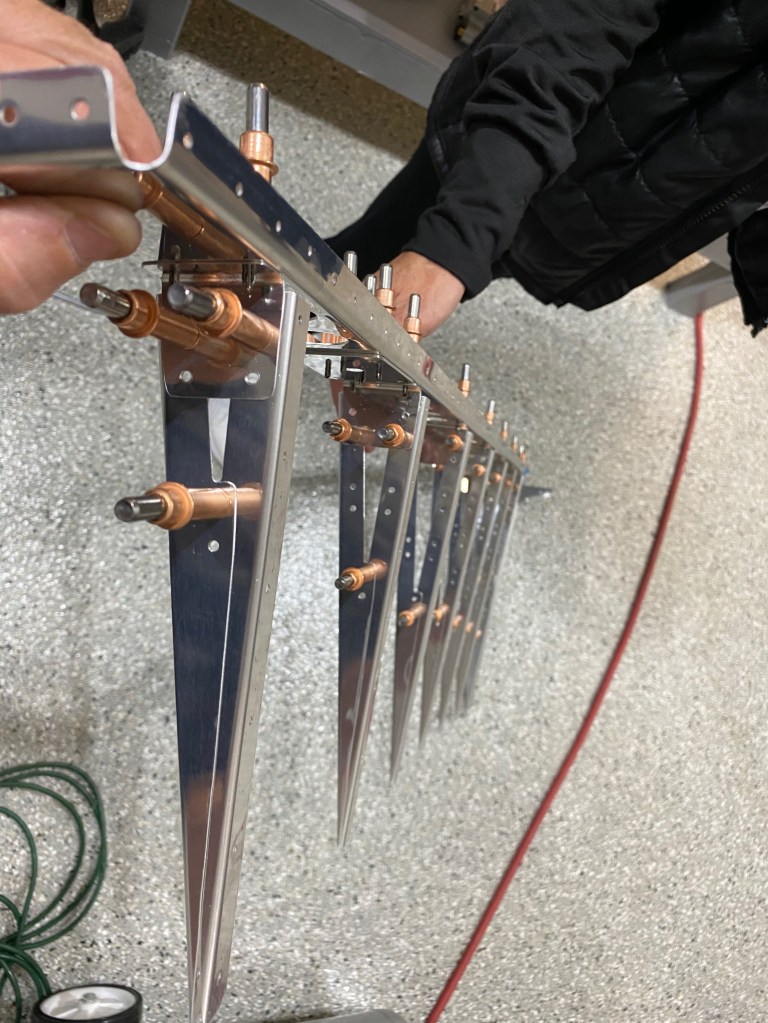
While riveting the bottom rib we ran into a bit of a snag. There is no way to get a rivet squeezer or rivet gun on the trailing edge of the bottom rib. So we did like most farm kids would do. We improvised!

Sliding a chisel over the shop end and supporting it with a metal “S hook” on the other allowed us to strike the rivet ‘remotely’.

The end result was PERFECT!

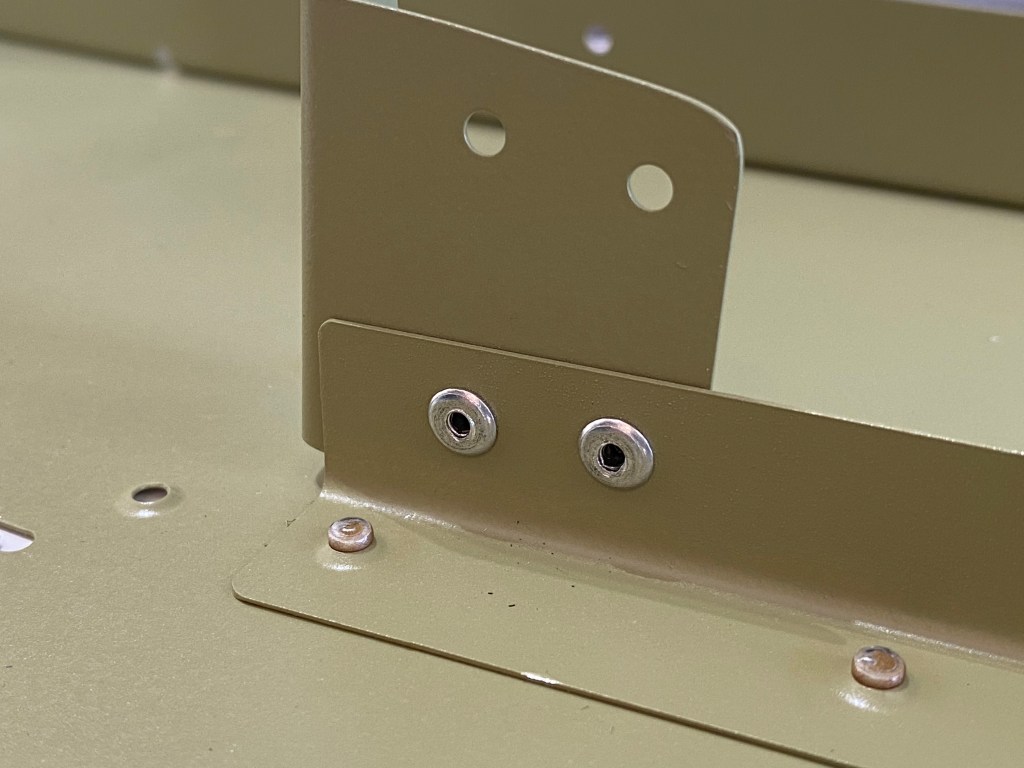
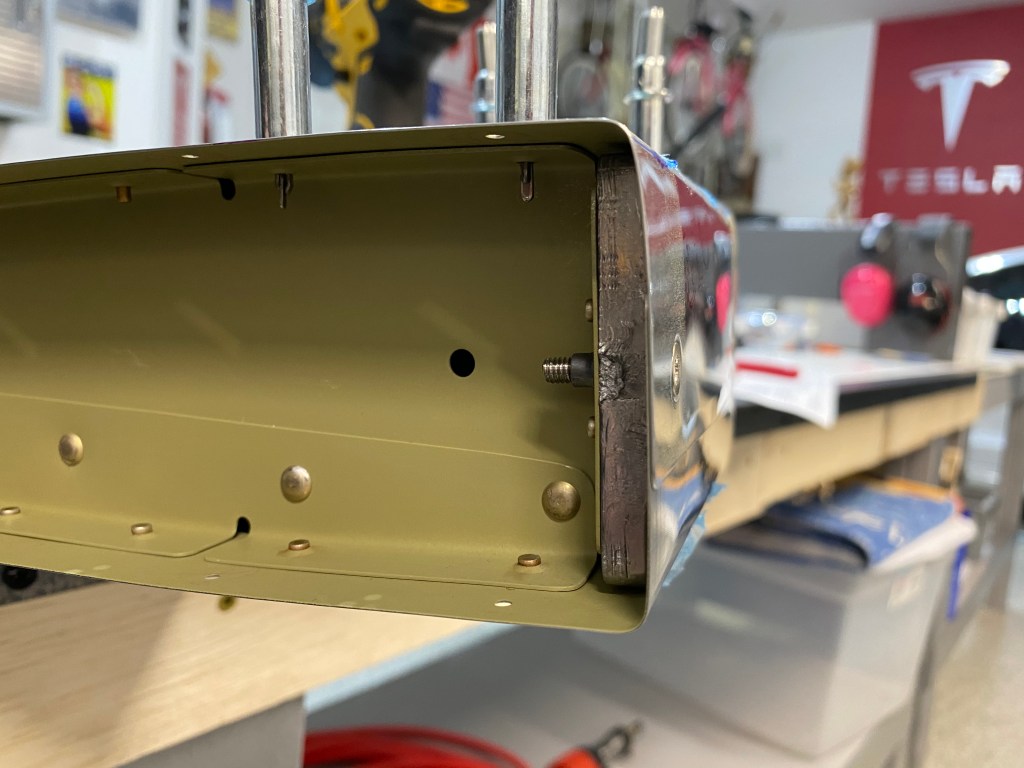
We riveted the shear clips with blind rivets and then set about figuring out how to attach the top and bottom skin together whilst keeping the trailing edge PERFECTLY STRAIGHT.
When riveting the trailing edge of any control surface it is important that the end result is as straight as possible. Van’s says it should be within 2.5 mm over it’s length. Failure to do so will cause flight control problems which we do not want!

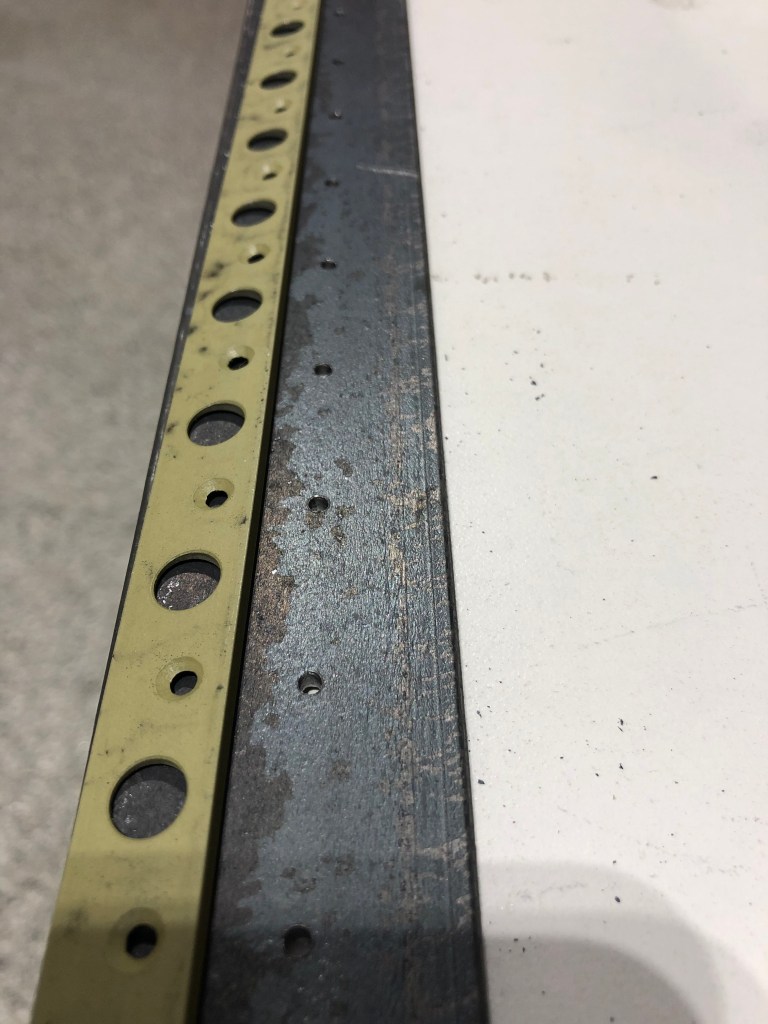
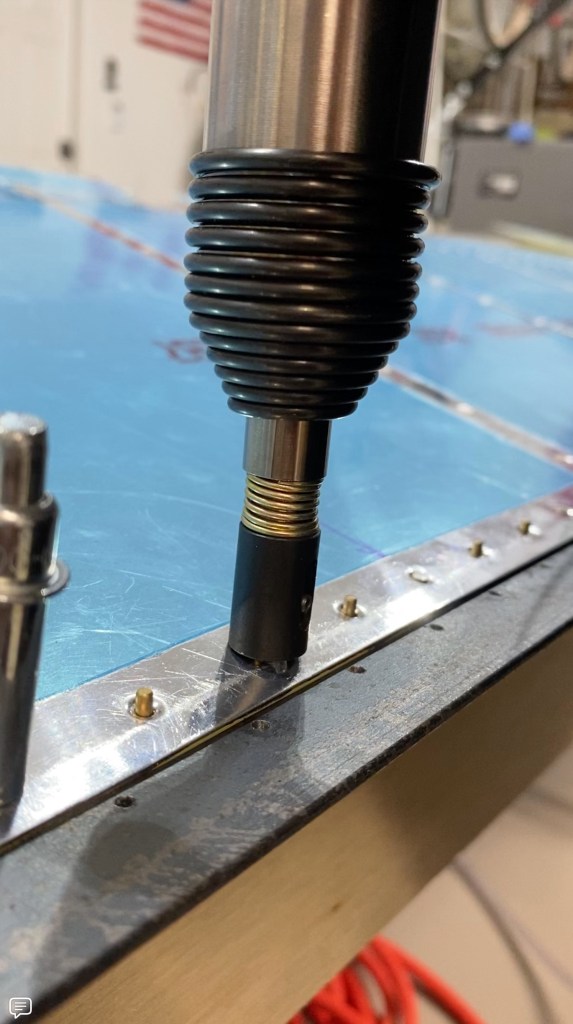
To ensure this was achieved we went to Home Depot and for about $18.00 purchased a piece of angle iron 72 inches long (long enough to do the elevators individually later) and proceeded to drill a #40 hole about an inch from the end.
We then clecoed the trailing edge wedge into the hole. Then using an automatic center punch (also from Home Depot) made marks in the steel. We used a ruler as we moved down the line the make sure the edge distance was correct.
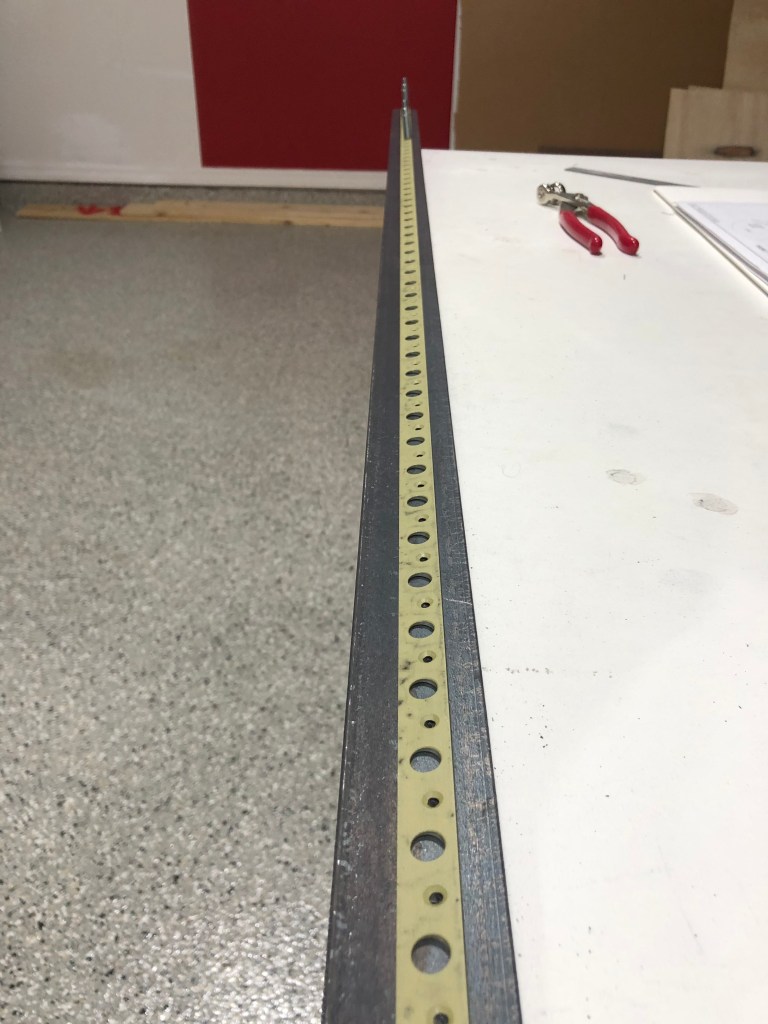
Now when we put the trailing edge together with pro seal we can cleco it to this steel ensuring that it is perfectly straight.
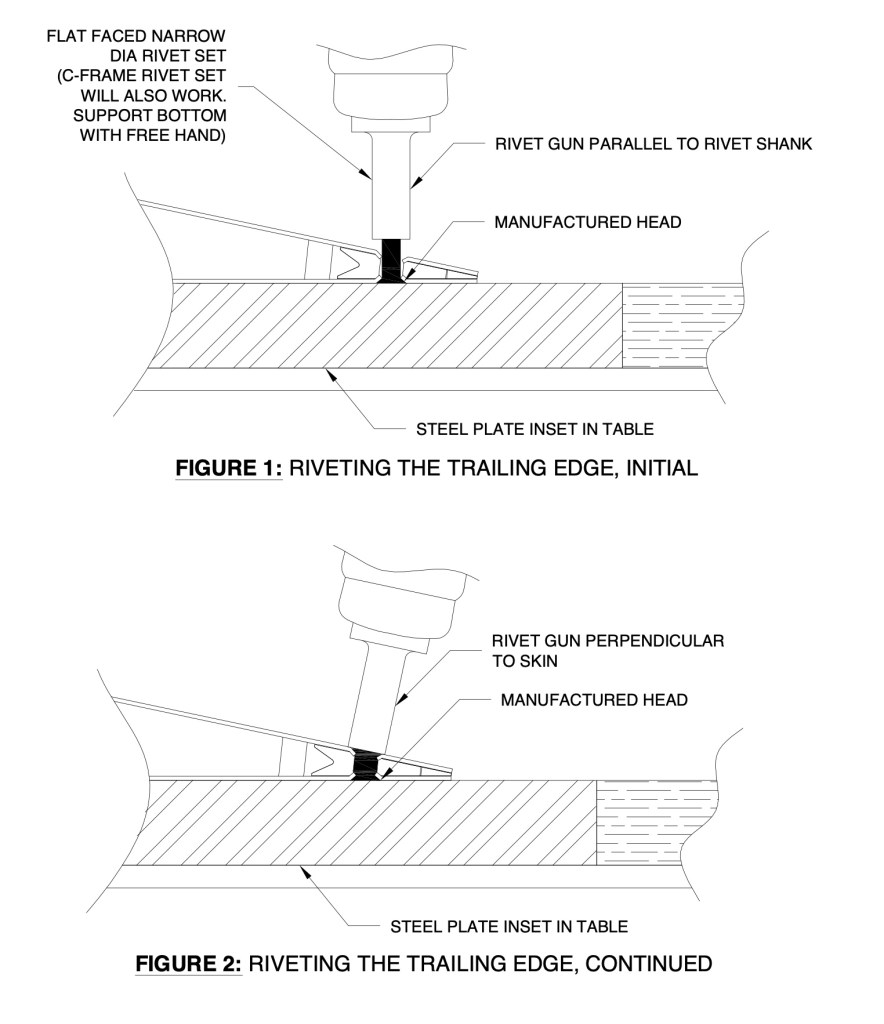
We flipped he rudder over and taped all but 7 rivets in place. Flipped back over again we anchored the trailing edge to the angle iron to keep it straight while back riveting. These rivets are very, very, tiny and tricky to set. Since the trailing edge is a wedge the rivet needs to be driven straight down first and then the rivet gun angled so that it’s flush with the top skin. Knowing when to go from vertical driving to slightly angled is tricky when you can’t see the rived due to the sleeve on the back riveting tool.
Here’s the idea…
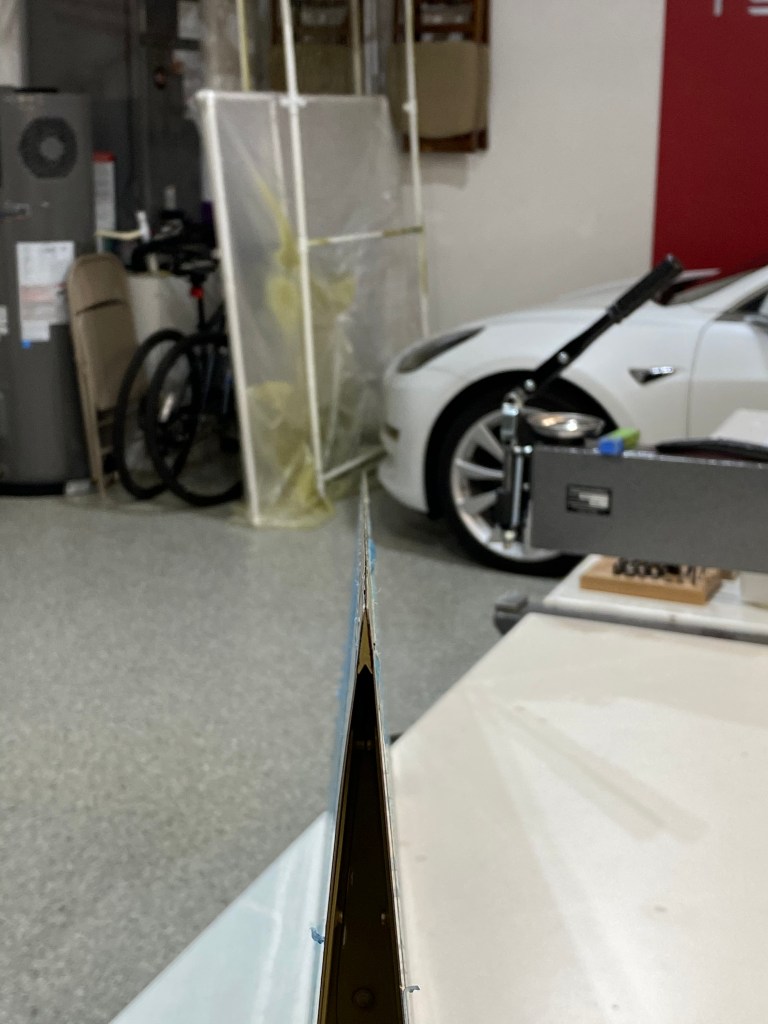
Anchoring the angle iron to the work bench.

Clecoed down and ready to back rivet!


Here goes nothin…
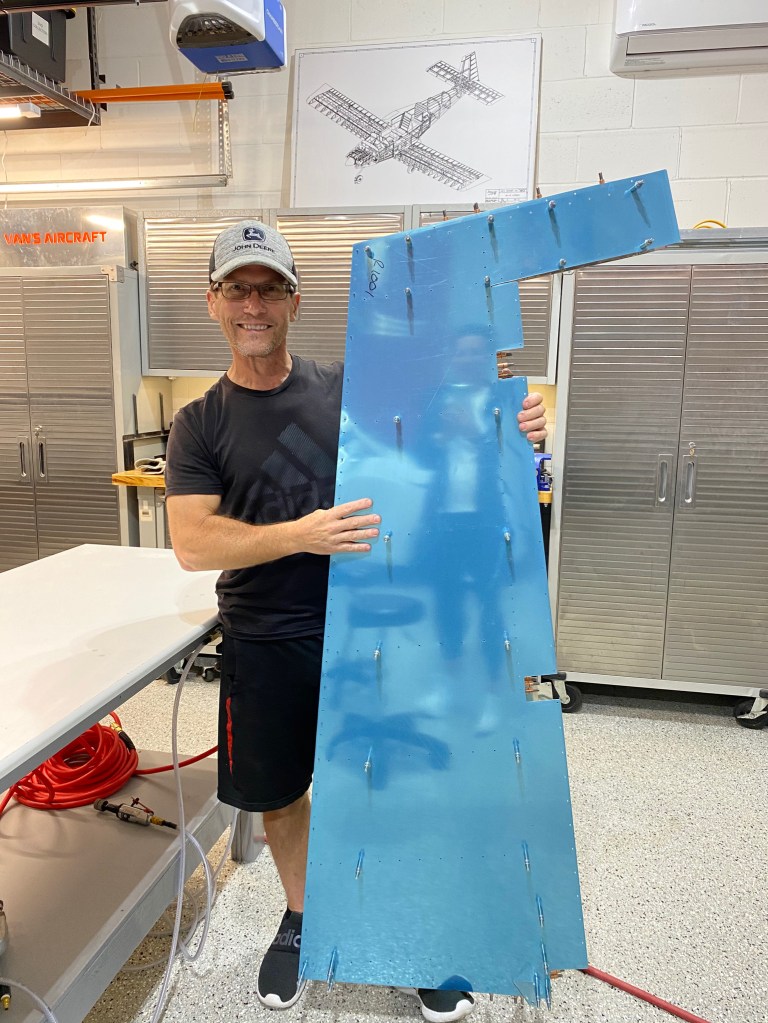
Yah! It worked! This trailing edge is DEAD STRAIGHT! Exactly what we were going for!
We’re on the home stretch with the rudder. We just need to roll the leading end and install the counterbalance weight and this thing (piece) is ready to fly!
Rolling the leading edge required a broom stick, some duct tape, and some patience. Lots of the latter! Rolling so that the edges come together without too much tension took a few tries but in the end we were very happy with the results. We used ‘blind’ rivets, colloquially known as ‘pop’ rivets, to connect the 2 skins. No ‘pillowing’ either which was a concern going into this part.

I even got to try out my new Harbor Freight pneumatic riveter!
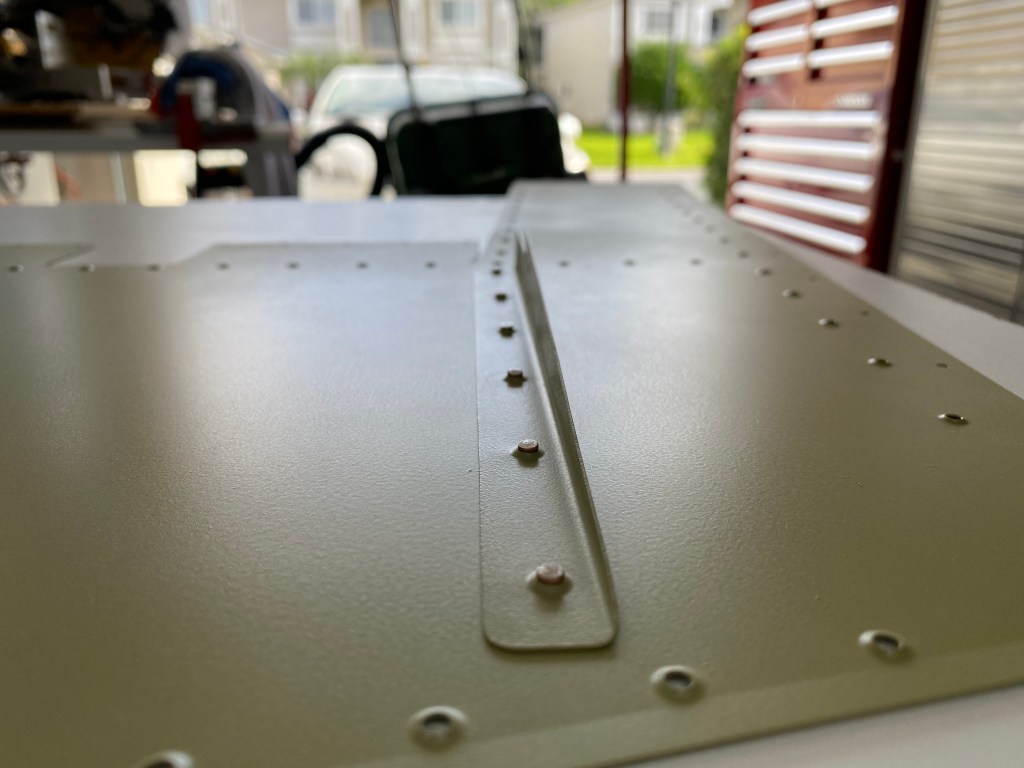
Finally we formed the 2 skins over the counter weight, installed a couple of nut plates and closed this part of the project up.


Groot seems happy with the outcome!
And now the part that we’ve all been waiting for… a complete aircraft part ready for final assembly and paint! We’re pretty happy with how this turned out. As you can see by the smiles on our faces!

