
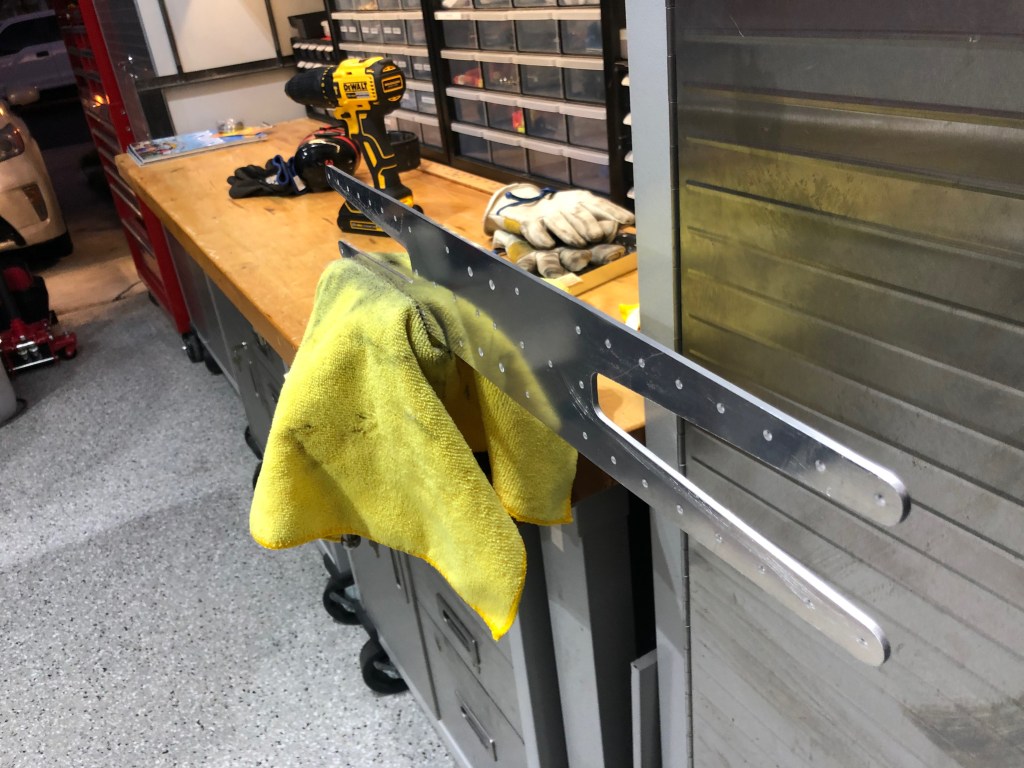
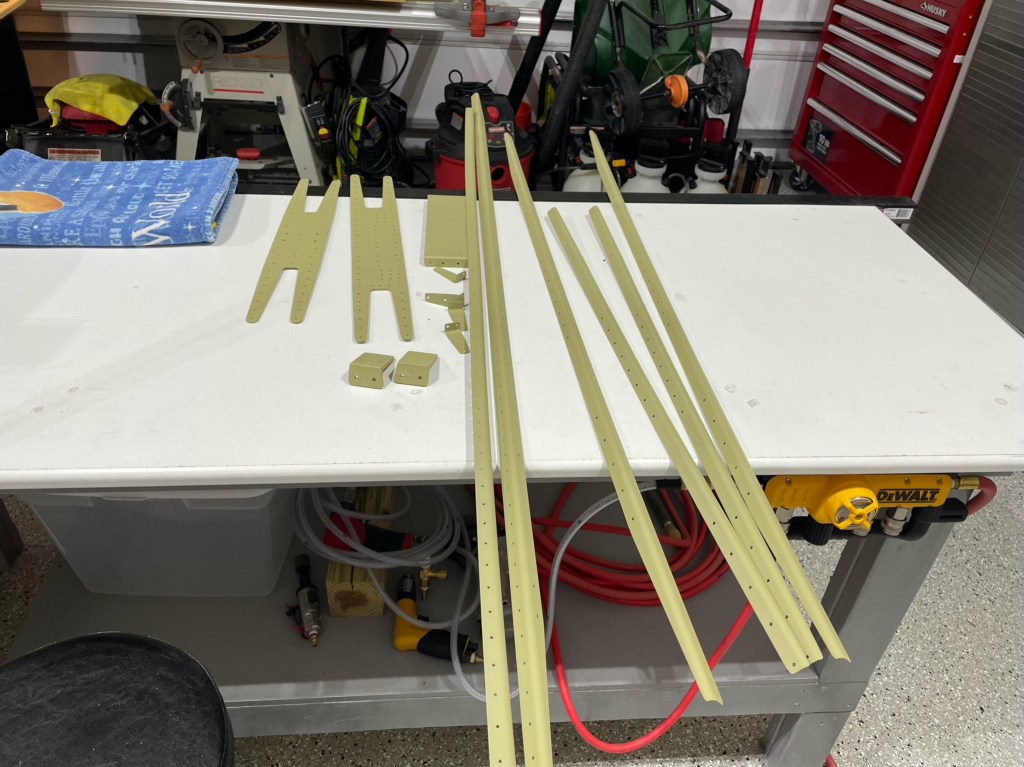
Now that we’ve got the Vertical Stabilizer and Rudder behind us it’s on the Horizontal Stabilizer. This part is long! It spans across 2 tables. Lots of deburring on these parts including the Spar Doubler seen below. A fine toothed file followed by a Scotchbrite wheel and then a Dremel took care of it.


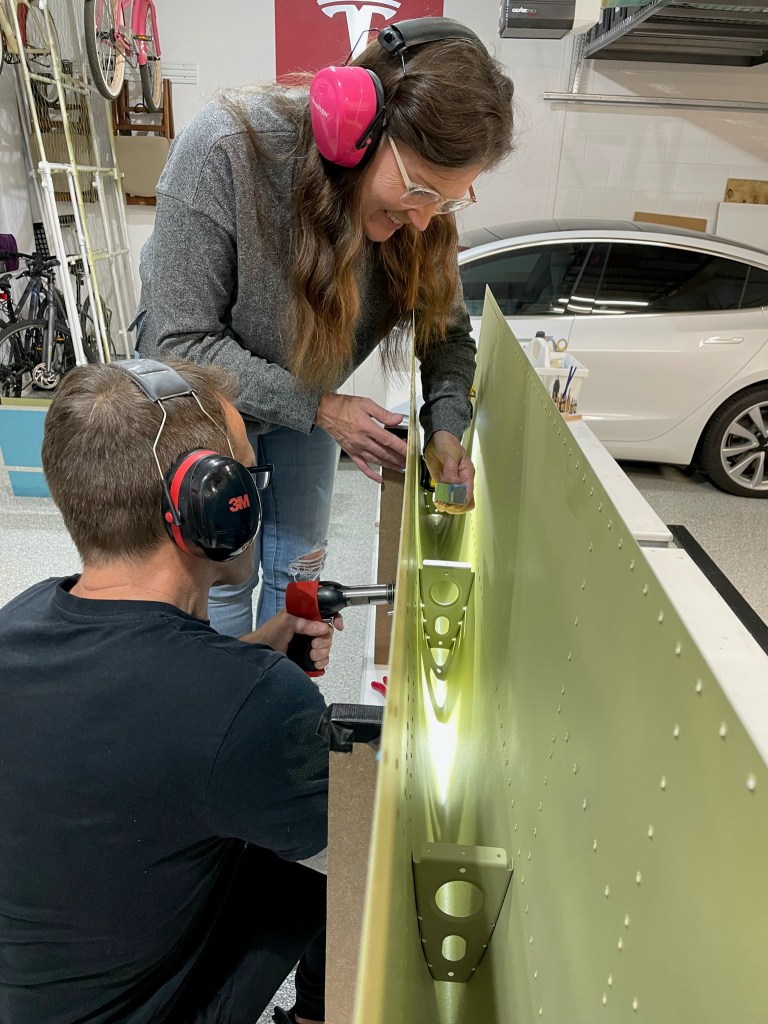
The Spar Caps on the inside of the Spar were fabricated in the bandsaw and then deburred. They were then cleco clamped in place and then carefully match drilled through the Spar Web. Then the caps are removed, the holes deburred and the caps clecoed in place again. This time the spar flange is match drilled. Once again, it’s all taken apart and deburred.


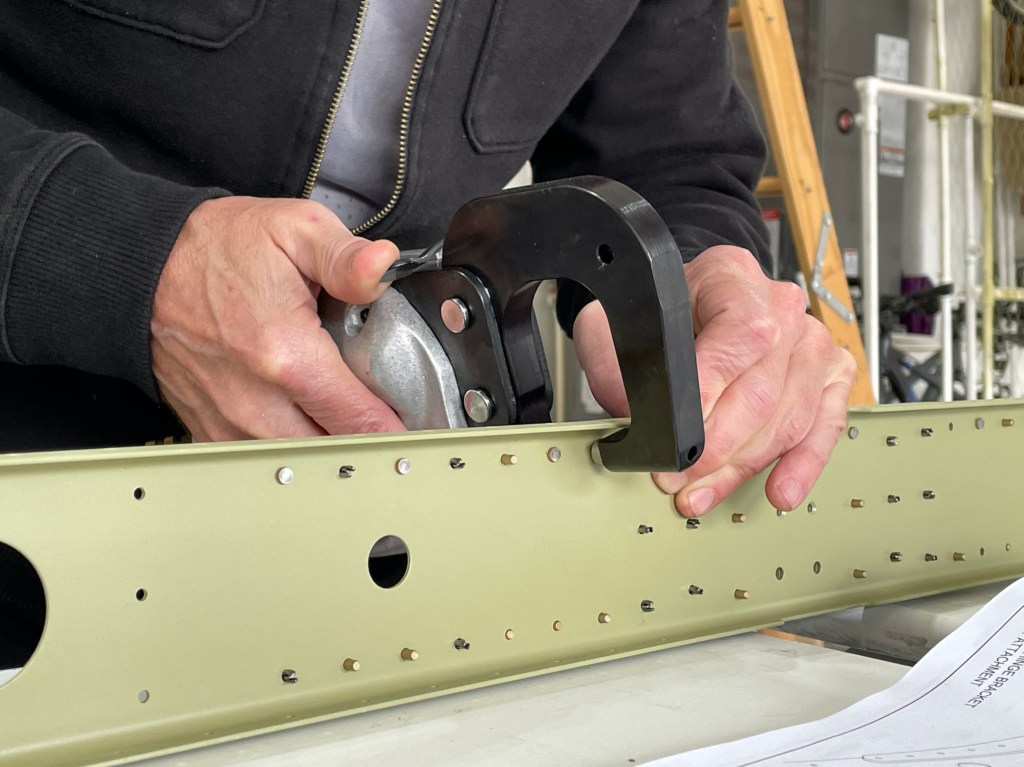
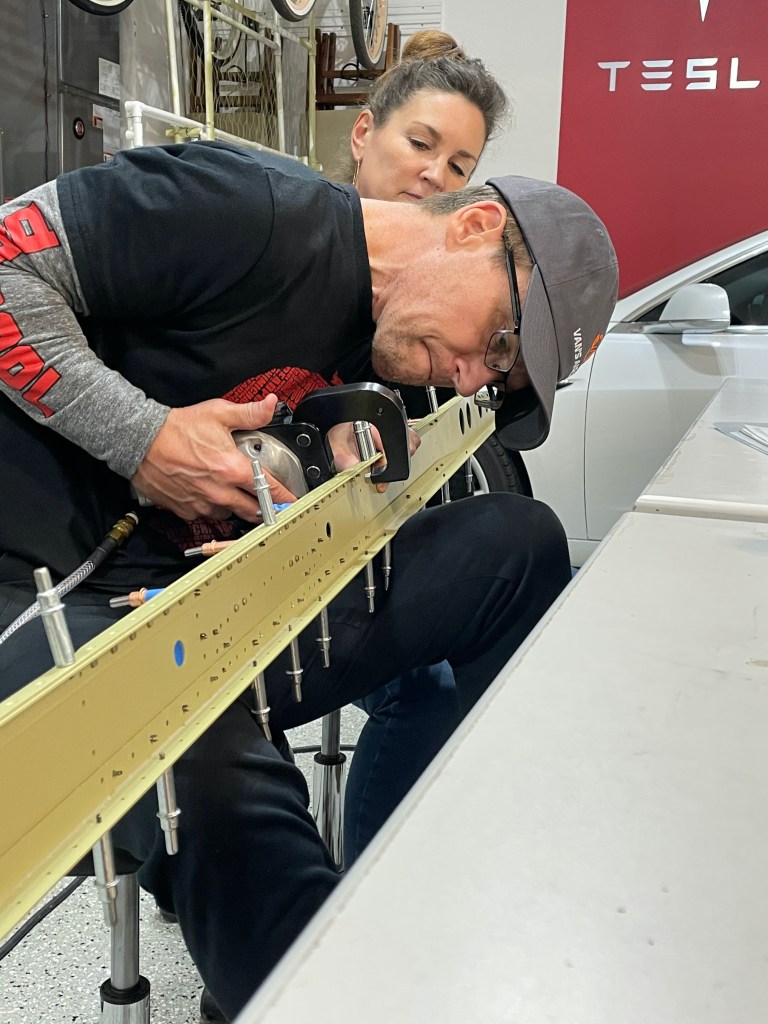
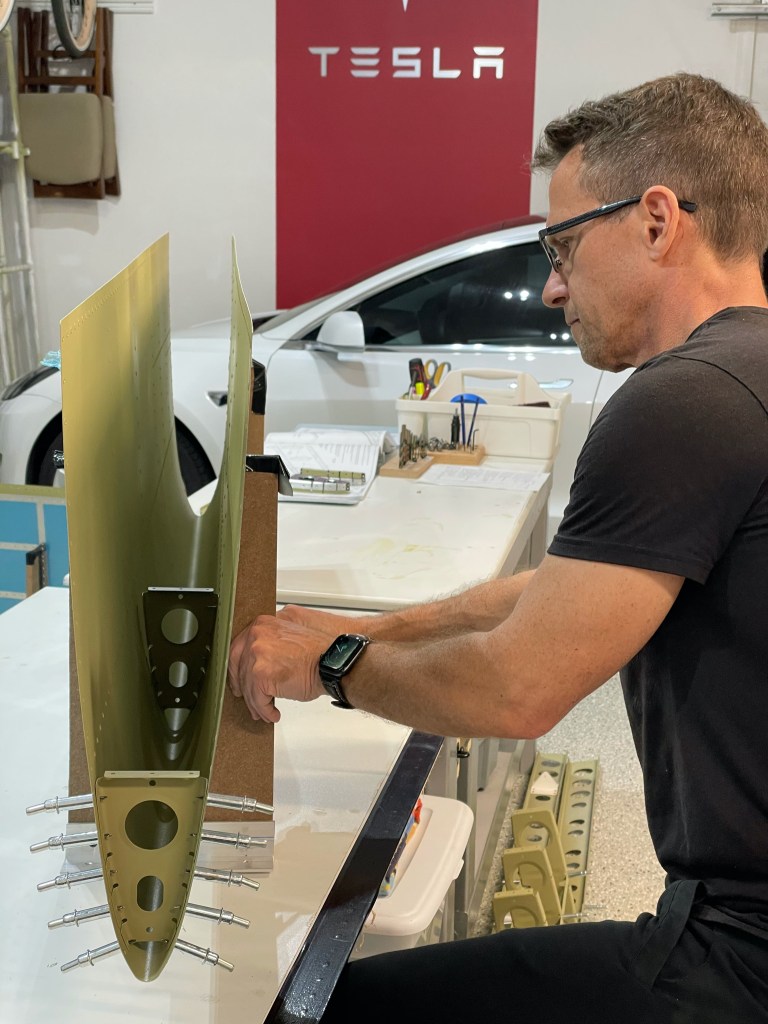
The spar attachment brackets I fabricated e few days earlier where clecoed in place and match drilled. The angle iron is to ensure that the brackets are parallel with each other.

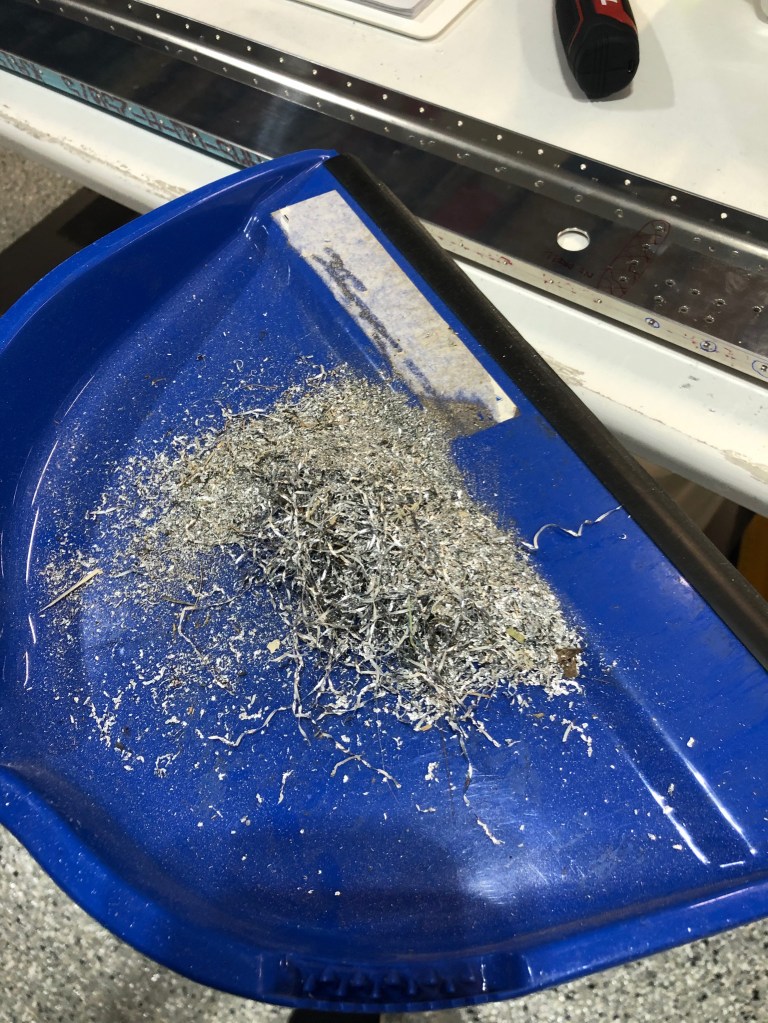
Before calling it a day I swept the floor. Our epoxy speckled floor makes it next to impossible to see any dirt, dust, or even rivets. The latter is a huge problem. If we drop something we don’t even try to look for it and simply wait until the end of the day to sweep the floor when we often find it.
None of the aluminum filings seen in this dust pan were visible on the floor.
We’ve jumped ahead just a little in the plans. We’ve passed 2 points where the plans give the option to prime. As we don’t want to setup the paint booth any more than is necessary, we’ll collect a few more things before priming a big batch. We’ll return to this point in the plans for assembly.
Back to using the soldering iron to melt off the vinyl. It’s a slow process but at least the aluminum is protected. It scratches so easily. Any protection that can be kept on as long as possible helps.

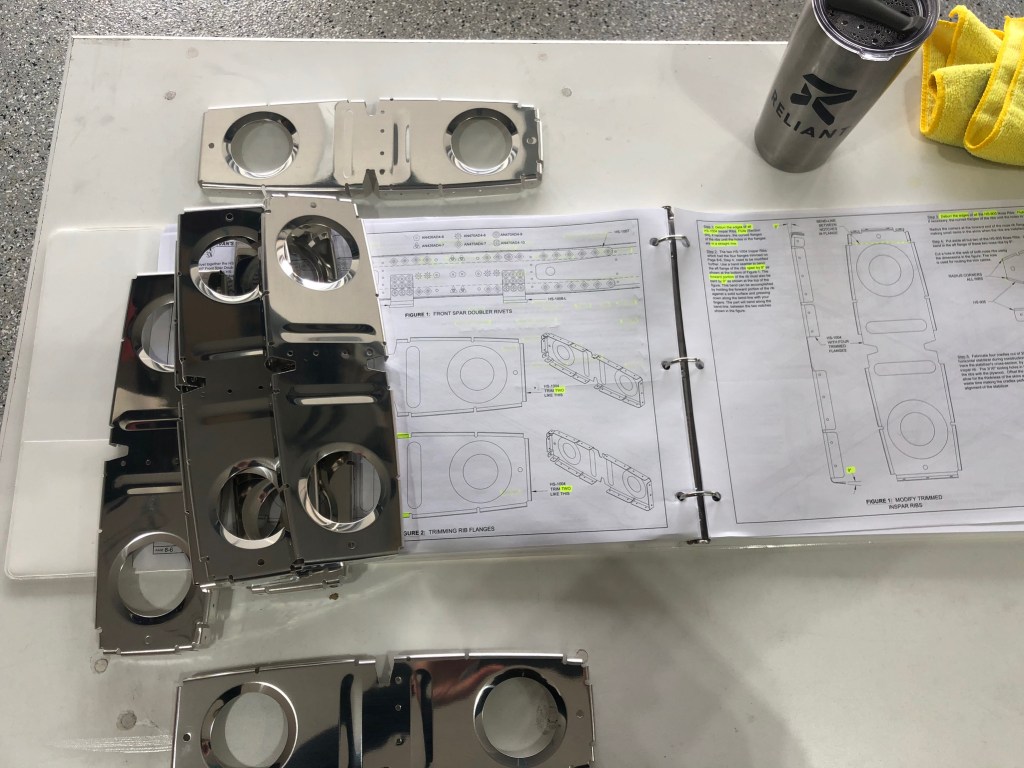
Laying the nose ribs, front spar, and inspar ribs in the skins.

Countersinking many, many, many holes on the front and rear spars.

So, I just figured out…I made a mistake! The nose ribs on the horizontal stab need to have the “faceting” removed before installation to prevent the sharp edges from damaging the skin.
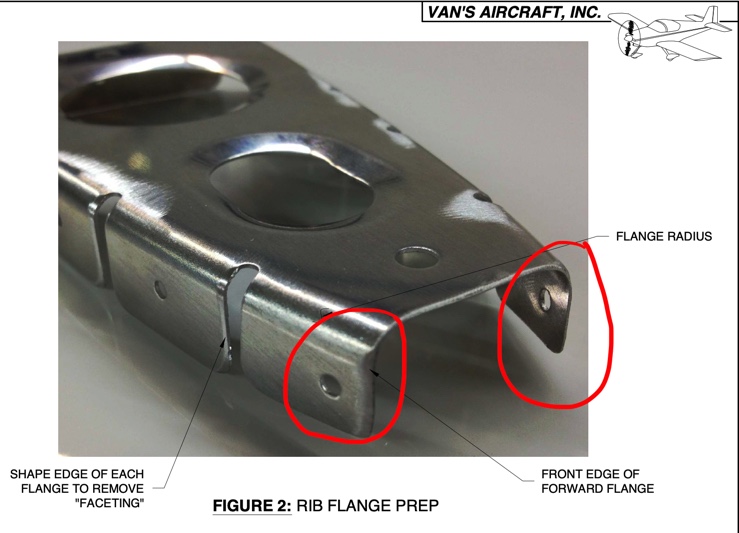
Unfortunately in my effort to remove this faceting I got a little carried away. As the diagram shows, there is a minimum edge distance required for a given rivet diameter.
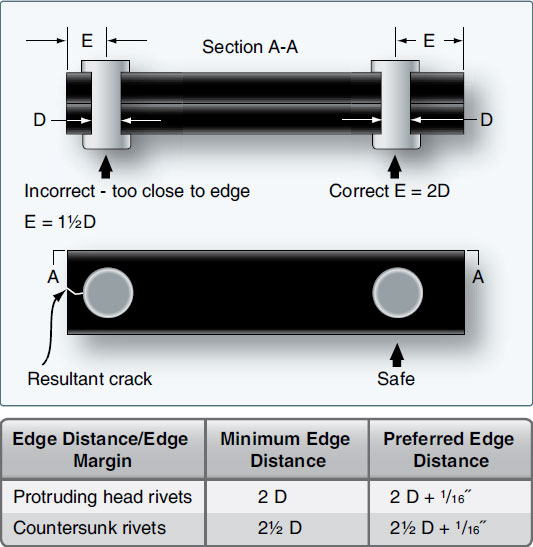
The ribs I ‘trimmed’ left the rivet holes a little too close to the edge. I reached out to Van’s Technical Support by email who were confident that I only needed to replace number 1 and 4. I figured since I needed to order these anyway I’d just get all 8 and feel good about doing the job right this time. I called Van’s today and they were able to get these shipped out Fedex the same day.

Now its’ on to dimpling. Lots and lots of dimpling. But the DRDT-2 does make this job much easier and the c-frame type. Although some would argue that the c-frame makes better dimples.

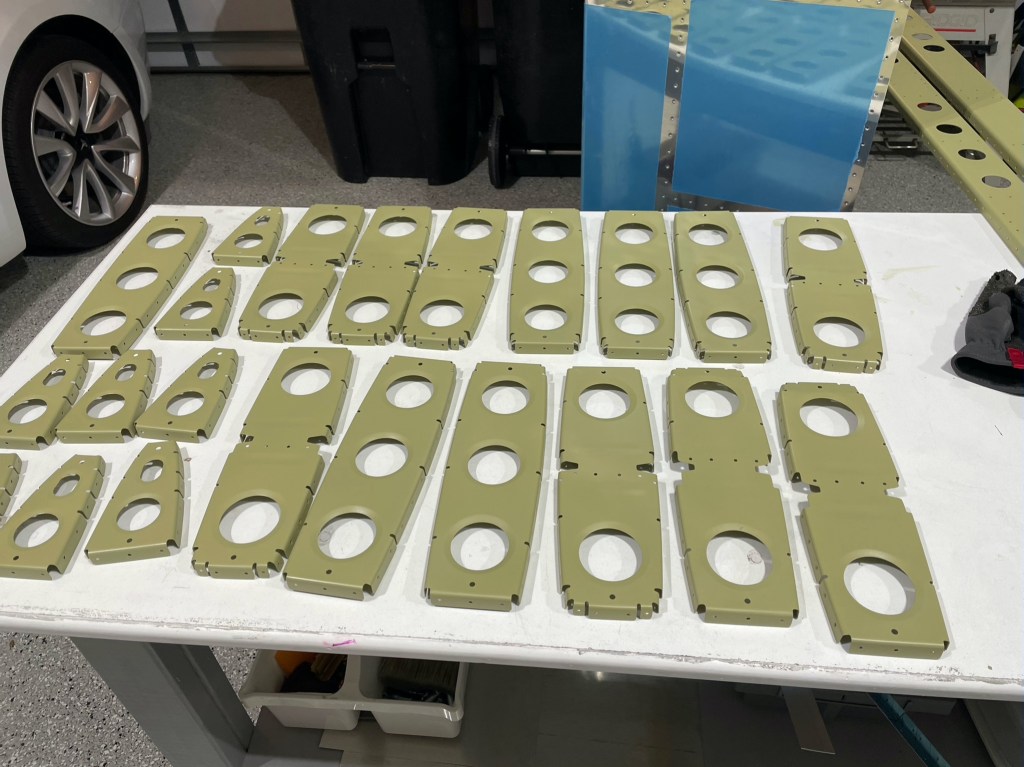
Time to set-up the paint booth again! lots more parts this time.

I do LOVE the green color that this primer has. It’s incredibly durable and won’t scratch very easily.
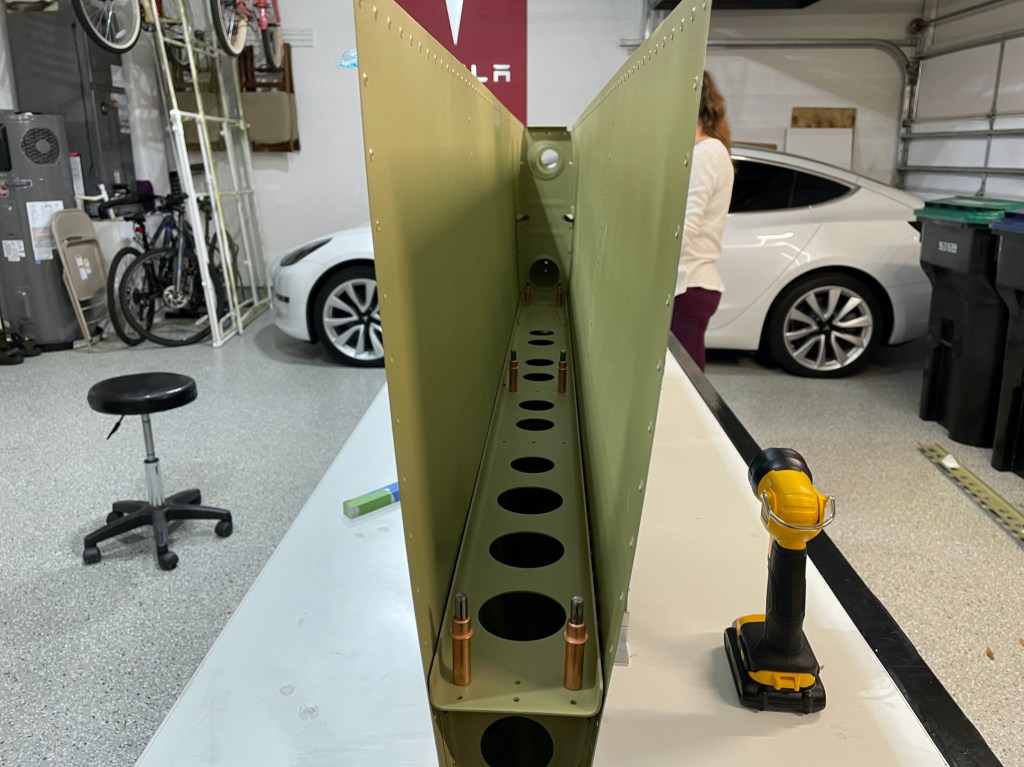
No on to riveting the spars.
Yes that is blood on the spar and spar doubler.

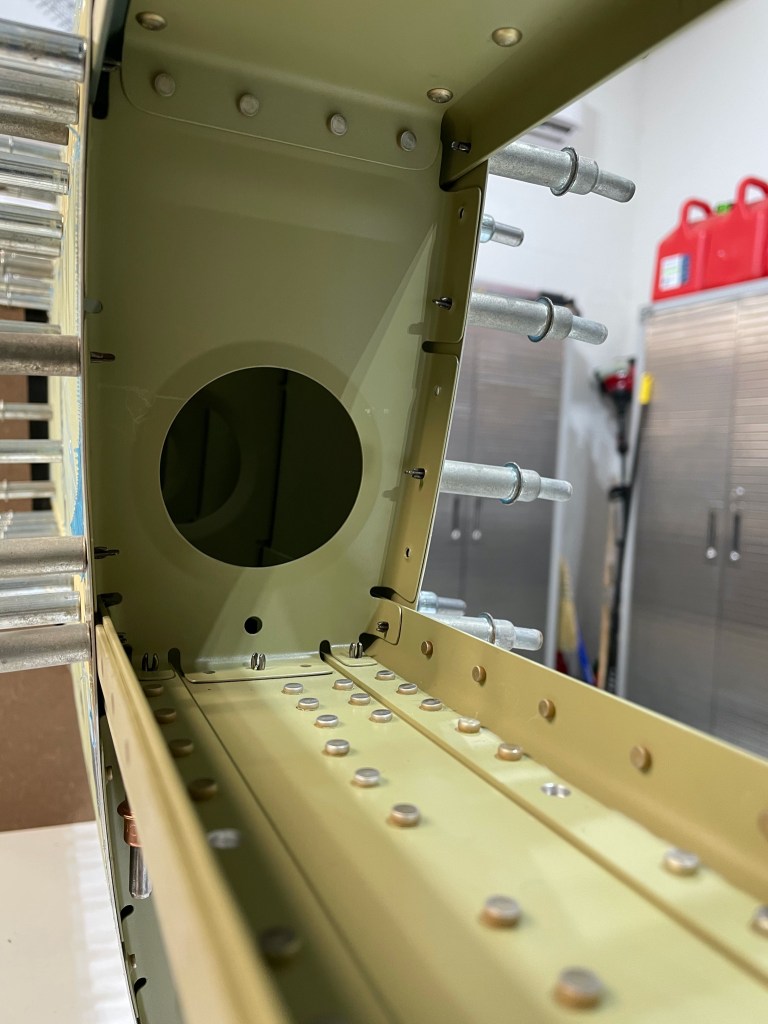
Rear spar elevator hinge bracket installed!

Now on to countersinking the stringers that give extra support to the skins near the center of the stabilizer.

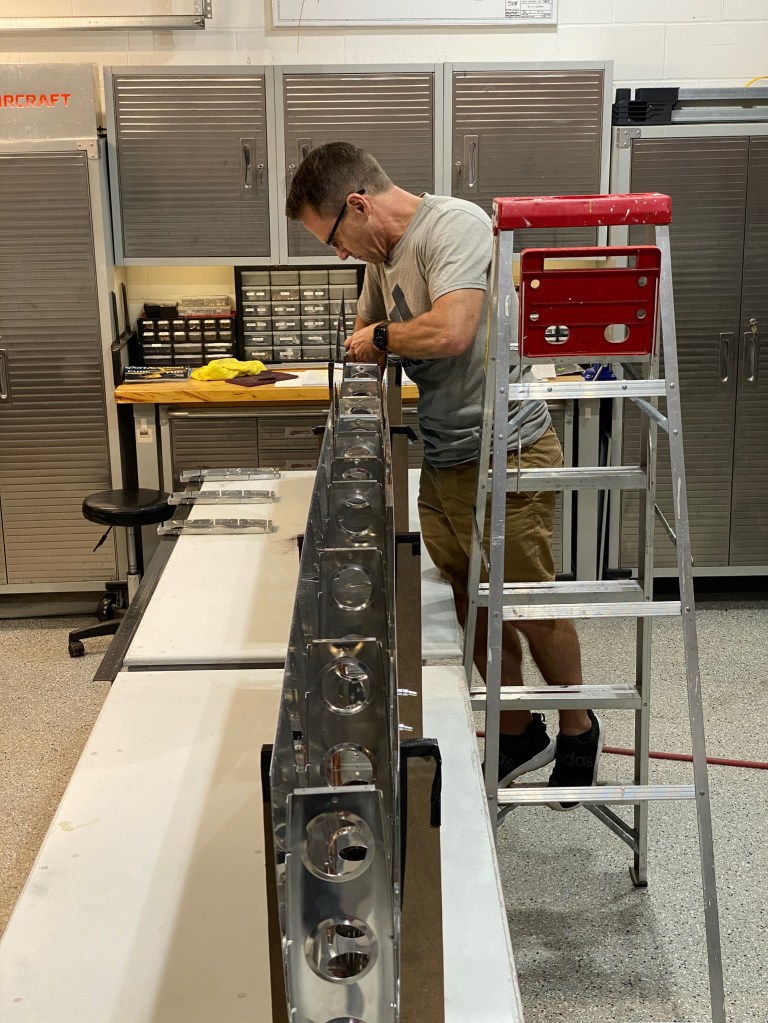
Assembling the substructure.

No on the clecoing the nose ribs into place on the skins. This part is tricky since they fit very, very tight into the nose it’s sometimes difficult to get the clecos in. And in this case you need a cleco in every hole to get things to line up propertly.
On to bucking the nose ribs. This really requires 2 people unless you have super long arms and can handle the bar and the riveter at the same time.


Now we lower the substructure into the the skins.

Finally the ribs are inserted and the bucking continues…

Lastly the rear spar is set on top and riveted to the ribs and then the skin riveted to the spar.

Thankfully some of the rivets on the rear spar that attach to the ribs are blind rivets which is very fast and a lot less stressful.

After some a few weeks of blood, sweat and tears…may I present to you…a horizontal stabilizer!

