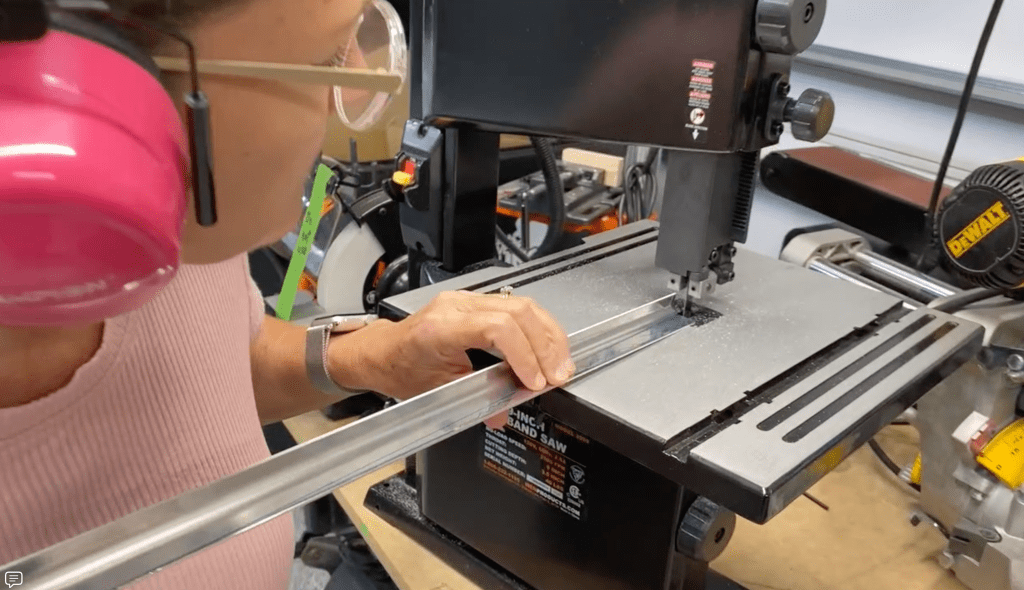
Step 1 and we’re already fabricating parts? Can’t we start with something easy? Oh well, nothing like jumping in with both feet. We were pretty nervous trying to cut a straight line on this spar cap but it worked out fine.
Literally EVERY part will need to be DEBURRED. Every part has small burrs from cutting, punching, or drilling that MUST be removed if you want this plane to last.
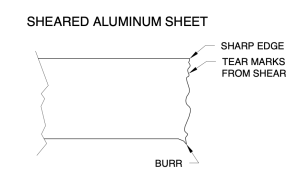
These burrs cause stress points and will eventually form a crack from the high vibrations aircraft are subject to. The task is tedious and you don’t really know when you have done only what is necessary but not more than is required. It’s an ongoing debate amongst experimental aircraft builders. Thankfully a Scotchbrite wheel works well on these larger pieces.

Next, we locate a bunch of parts that Vans has punched out for us. Cleco these things together, upsize some holes, sometimes drill new ones.

More deburring…

More clecoing… Oh and those silvery things in my hair are not paint! 😂

Even more clecoing…

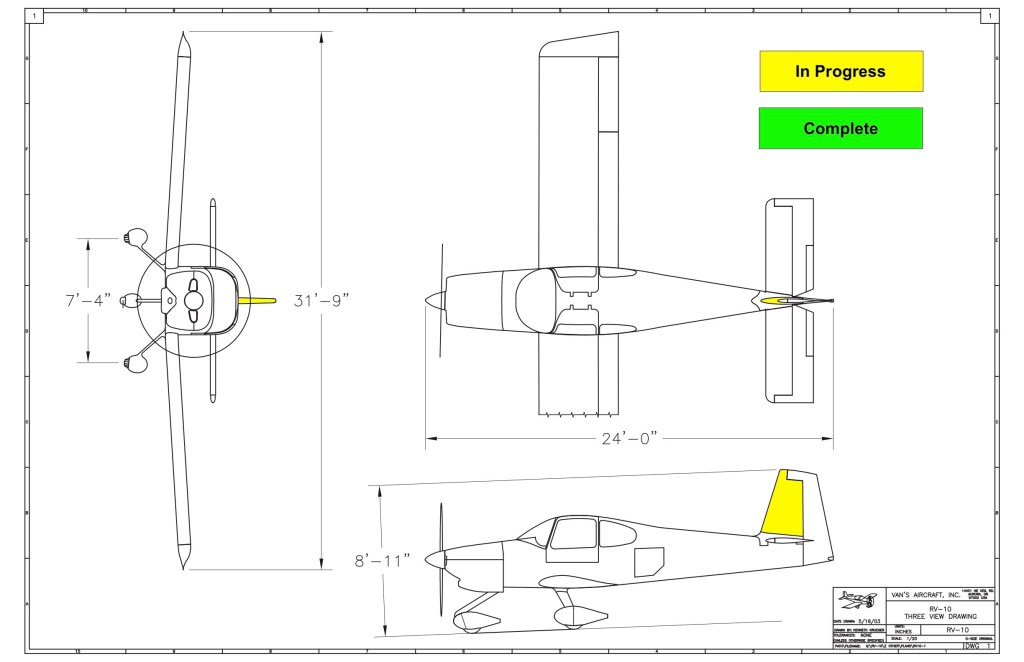
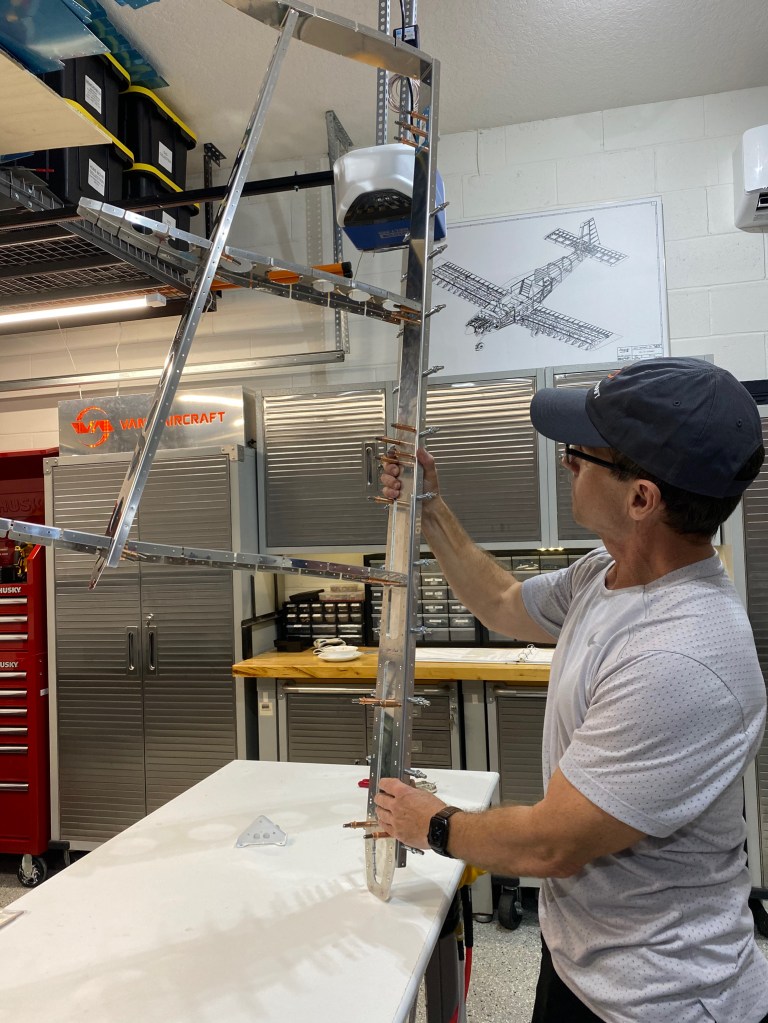
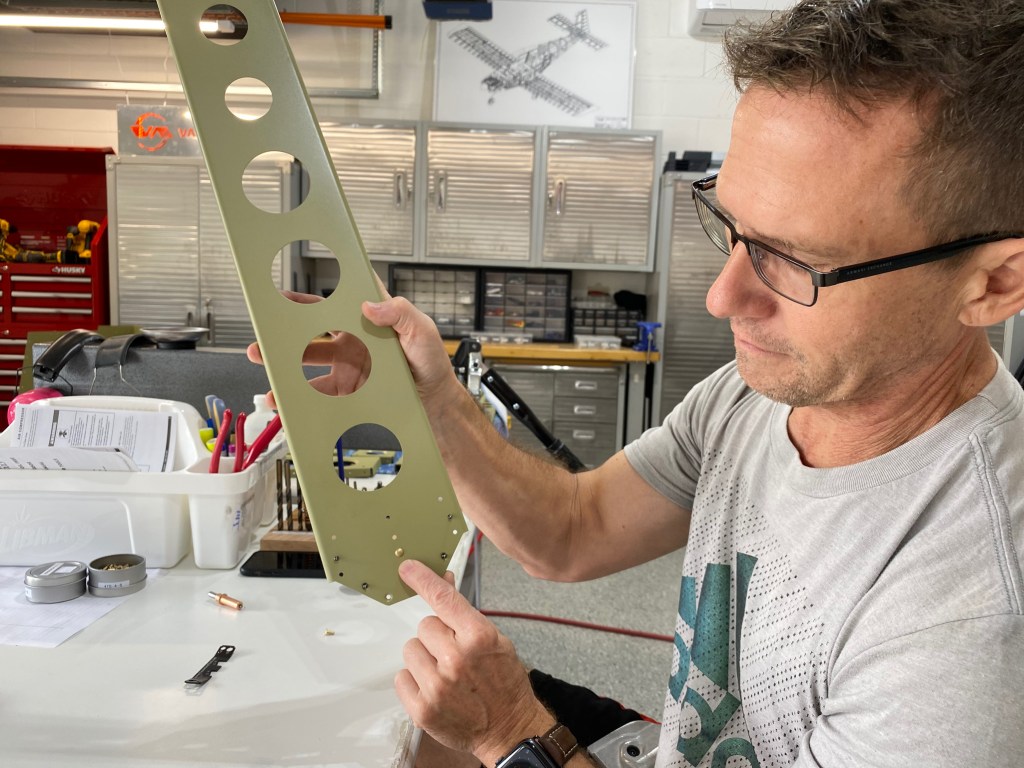
Hey! This is starting to resemble something from the picture on the wall!
Now we’ll add some skins!


Until we FINALLY have a part…that is nowhere near complete! Believe it or not, at this point we actually have to take the entire structure apart and dimple the holes that will be riveted during final assembly. So now we begin the task of taking our beautiful creation apart, down to its constituent components. ☹️

Dimpling can be done in two ways. One is to use a dimpling machine called a DRDT-2, and other is done using a pneumatic or hand squeezer. The pneumatic is faster than the hand squeezer so we opted for that when we purchased the tools.
Here we are dimpling the skin of the vertical stabilizer so that flush mounted rivets can be applied to the exterior. This gives the aircraft a nice smooth finish and allows it to fly faster than an aircraft made with ‘pop’ rivets. Although, these flush mounted rivets take more time.
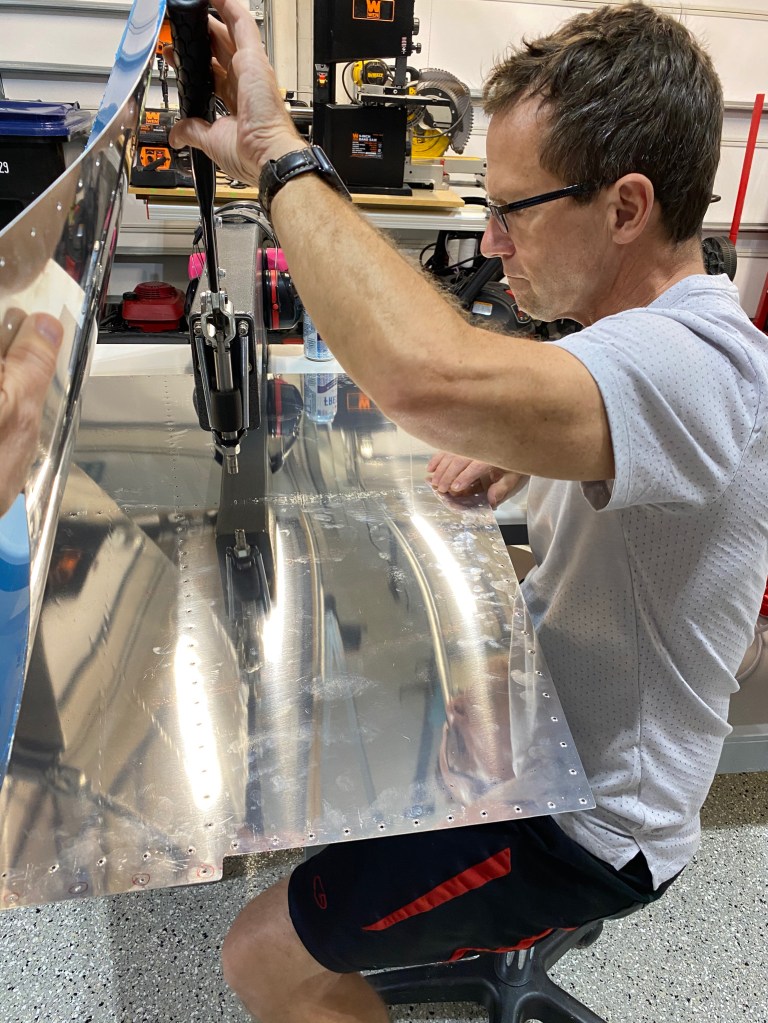
Where possible, we use the pneumatic hand squeezer. You can see that you don’t have much of a reach which is where the DRDT-2 comes in handy.

Now that dimpling is complete, we’re on to the priming.
With priming finished we set about assembling all this green aluminum. Starting with the rear spar, I squeeze the first rivet…with thousands more to go!
Then we attached the ribs to the front spar.

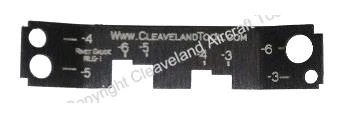
Now we cleco the skin to the substructure and begin bucking rivets. Bucking rivets takes more skill than squeezing rivets. You need to keep the rivet gun from sliding off the rivet or you’ll damage the skin. You, or someone else, needs to keep the bucking bar held on the shop side of the rivet as flat as possible. Van’s includes this handy ‘little’ (ahem) cheatsheet to help determine a good rivet from one that is not so good.

Once the rivet is set it can be checked with this hand dandy tool. As long as the shop head of the rivet just barely fits the appropriate hole, you’ve done the job correctly.
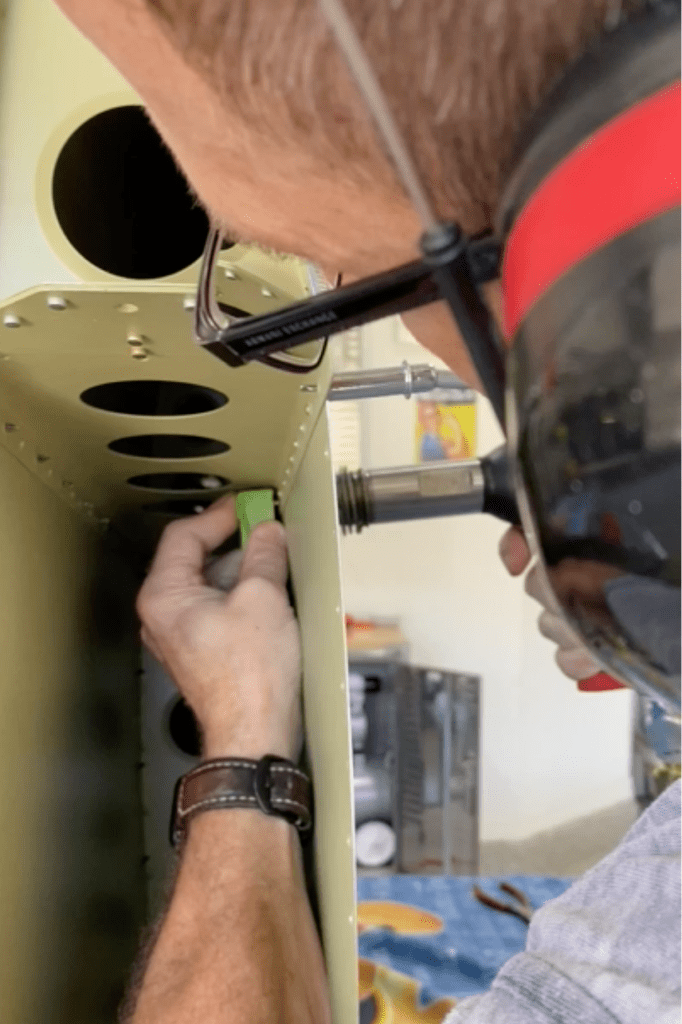
In tight spaces you pretty much need one person holding rivet gun and one on the bucking bar. Which is what we did on many parts of the vertical stabilizer.

Sometime it works out that you can buck the rivets yourself. I’ve covered some of the tungsten bucking bar with painters tape to keep it from scratching the skin while the bar bounces around during riveting.
A few more rivets around the perimeter with the squeezer…

Finally! A competed aircraft part ready for final assembly and paint!

